7 Steps to Properly Paint Wood Siding
Few features of a home make an immediate visual impact like its exterior paint job. A fresh coat of paint can dramatically improve curb appeal and increase the value of your home. Wood siding regularly needs the protection of a new coat of paint or stain. Depending on the climate in your area, expect to repaint wood siding every 3-5 years to maintain its appearance and prevent deterioration.
Tips for a Long-Lasting Exterior Paint Finish
If you’re planning to paint your home as a DIY project, choosing new exterior paint colors is just the start. All of the time and expense invested in painting can be compromised when crucial steps in preparation are rushed or skipped. Following these seven steps will help ensure that your paint job looks good and is long-lasting.
1. Clean the Exterior
Begin by hosing down the siding. If you use a pressure washer, keep the pressure low to avoid damaging the wood and driving water into cracks and crevices. Water alone is rarely enough to remove mold, mildew, and algae buildup. There are a number of cleaning agents on the market designed for wood siding. Follow package instructions carefully, wear protective gear, and allow the siding to thoroughly dry before proceeding to the next step.
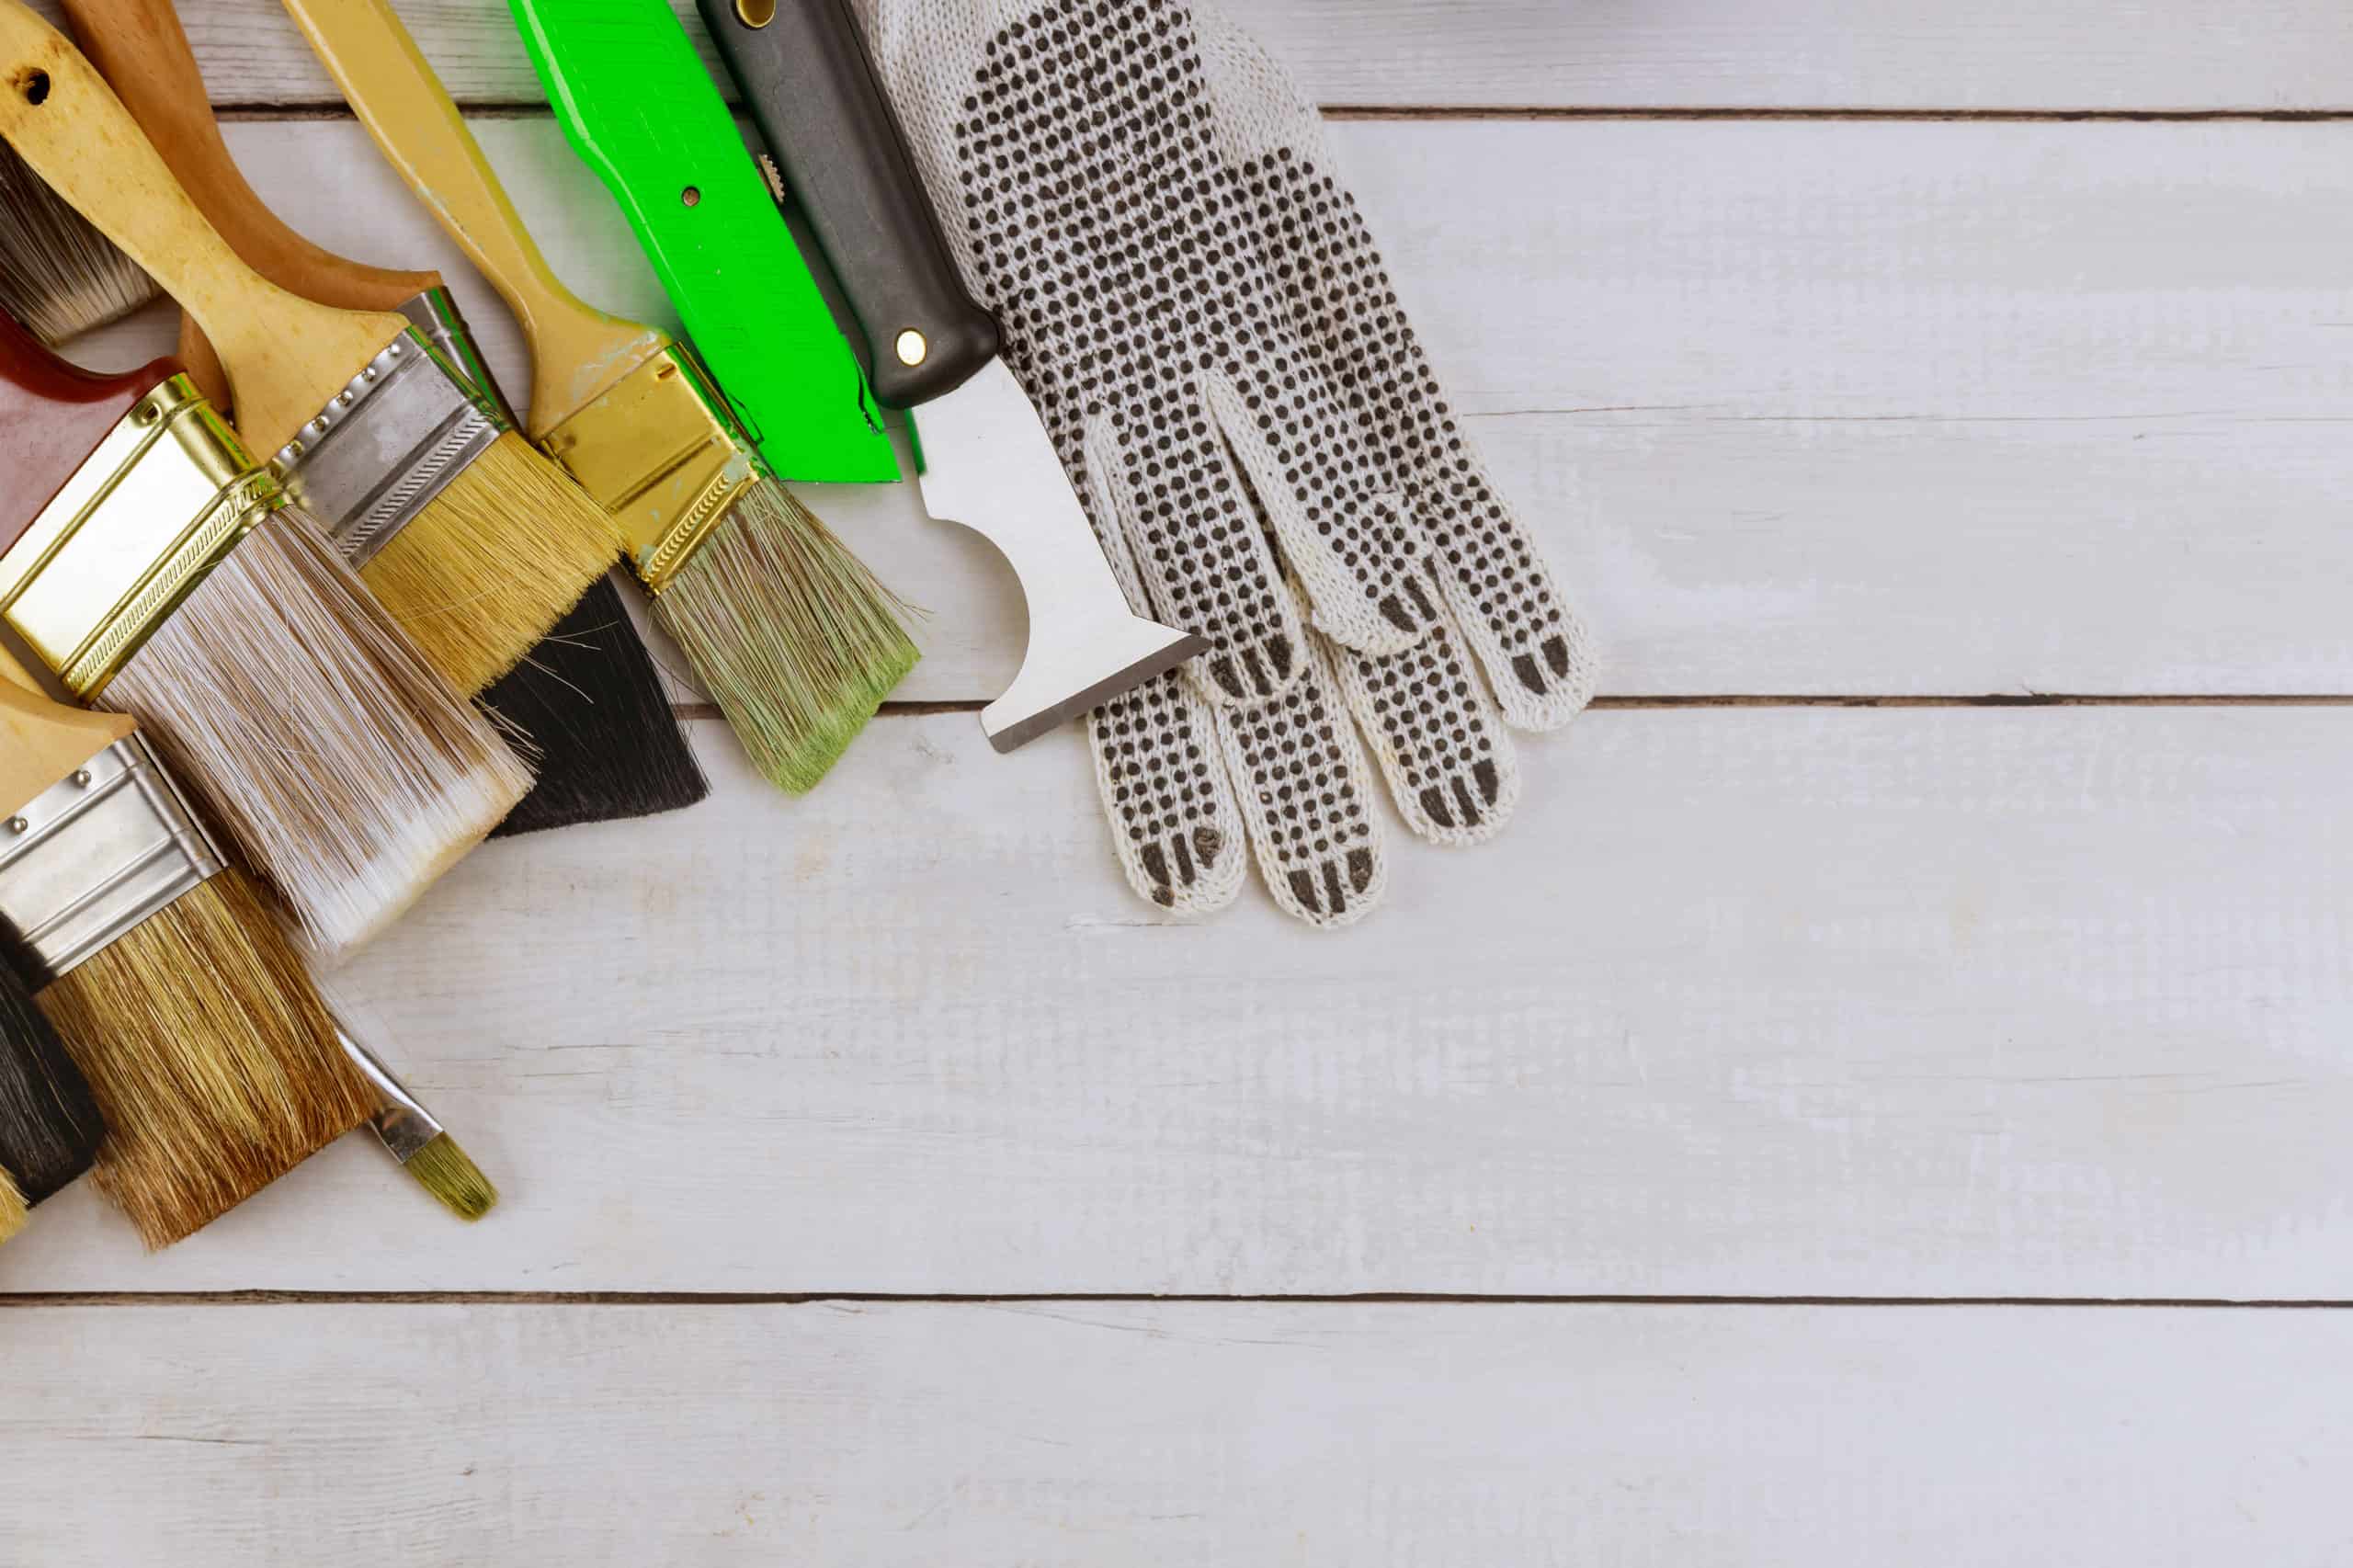
2. Scrape and Sand
Paint will not adhere properly to surfaces that are cracking or peeling. Scrape loose and flaking paint from the siding. Use a paint scraper, keeping the blade flat against the wood to avoid creating gouge marks. Use a hand sander to smooth out any rough spots. A power sander can be used for larger areas. Take care not to push too hard and leave sander marks on the siding. When scraping and sanding, you may release lead dust which is toxic. Before you start, log onto www.epa.gov/lead to learn more about how to protect yourself and your family from the hazards of lead paint.
3. Fill and Repair Damaged Areas
After washing, scraping, and sanding, you will likely find holes, dings or chips that need attention. Fill any dents and nail holes with either a wood or epoxy filler and sand the surface. If there are major rot problems or large sections of damaged siding, you may need to hire a professional carpenter to replace those sections. Now is also a good time to correct drainage problems that cause water to pool and promote rot and mildew.
4. Protect Doors, Windows, and Lights
Cover doors, windows, and lighting fixtures using plastic sheeting and painter’s tape. Remove the shutters so you can paint behind them. Remember to cover landscaping, sidewalks, driveways, parked vehicles, and other outdoor items with tarps or drop cloths to protect them from paint splatter and accidental spills.
5. Apply Stain Blocking Primer
Primer will help paint adhere to the surface, providing a more uniform appearance. Use a primer when painting over new wood, bare wood, or repainting over existing dark or bright colors. If the entire surface doesn’t need to be primed, apply primer to select areas to prevent stains or other imperfections from bleeding through the final coat of paint.
6. Caulk Seams and Cracks
After the primer has dried, check edges and joints for holes or gaps. Use a waterproof caulk to fill gaps and create an airtight seal to prevent moisture from getting underneath the siding. Most professionals recommend acrylic or siliconized acrylic caulk for use around windows and doors. These caulks are paintable, long-lasting, and easy to clean up. Let the caulk set (usually at least several hours) before applying paint.
7. Apply Exterior Paint
After all of the prep work has been completed, it’s finally time to paint. Most exterior jobs will require a combination of brushes, rollers, and/or a paint sprayer to achieve the best finish. Start at the top and work down, doing the walls first and then the trim and doors. To avoid “lap marks” on exterior siding, always try to brush from one wet surface onto another wet surface. Allow the first coat of paint to thoroughly dry before applying the second coat.
Extra Tips for Better Paint Results
If your home was built before 1978, when lead paint was banned for residential use, you should protect yourself and your neighbors from airborne lead particles. The first step is to test for lead paint. Testing kits are widely available online and at local paint and hardware stores. If tests prove positive for lead paint, DIYers should follow EPA lead paint handling instructions to minimize exposure. You can also hire a local EPA lead-safe certified renovation contractor to handle lead testing and removal.
Don’t forget to follow basic ladder safety practices. Before using any ladder, make sure it is in proper working condition. When using an extension ladder, invest in an adjustable ladder stabilizer to improve stability. Don’t overreach too far to the side. Try to keep your hips within the horizontal rails of the ladder. It’s always much safer to climb down, move the ladder, and climb back up rather than risk falling by overreaching.
Don’t prime or paint in direct sunlight. Paint the west-facing side in the morning and the east in the afternoon. Avoid applying paint or primer on wet, windy, or very cold or hot days. Most paint products should be applied when outdoor temperatures are between 50-90 degrees Fahrenheit. Check the container for specific directions as some formulas can be applied in cooler temperatures.
Extend the life of your paint job with regular maintenance. Remove mold and mildew, inspect caulking every year and replace as needed, and touch up blisters or peels before they spread. Make sure that gutters and downspouts are regularly cleaned to direct water away from the house to prevent mold, mildew, and rot from developing on wood siding.
Painting your home, especially if it’s a multistory house, is time-consuming, physically demanding, and often dangerous work. Professional painters have the experience, training, and equipment to complete exterior projects safely and efficiently. Hiring an experienced local paint contractor will ensure professional, long-lasting results.
Walla Painting is a locally owned business that specializes in residential painting. Our fully insured, bonded, and skilled painters are equipped to handle any size project. We are proud to have received Angie’s List Super Service Award 10 years in a row for our customer service and detailed workmanship.
We are here to serve Carmel, Westfield, Zionsville, Noblesville, Fishers, and McCordville homeowners. We offer residential interior and exterior painting, as well as cabinet and trim painting. Contact us online or at (317) 620-0695 for a free estimate.